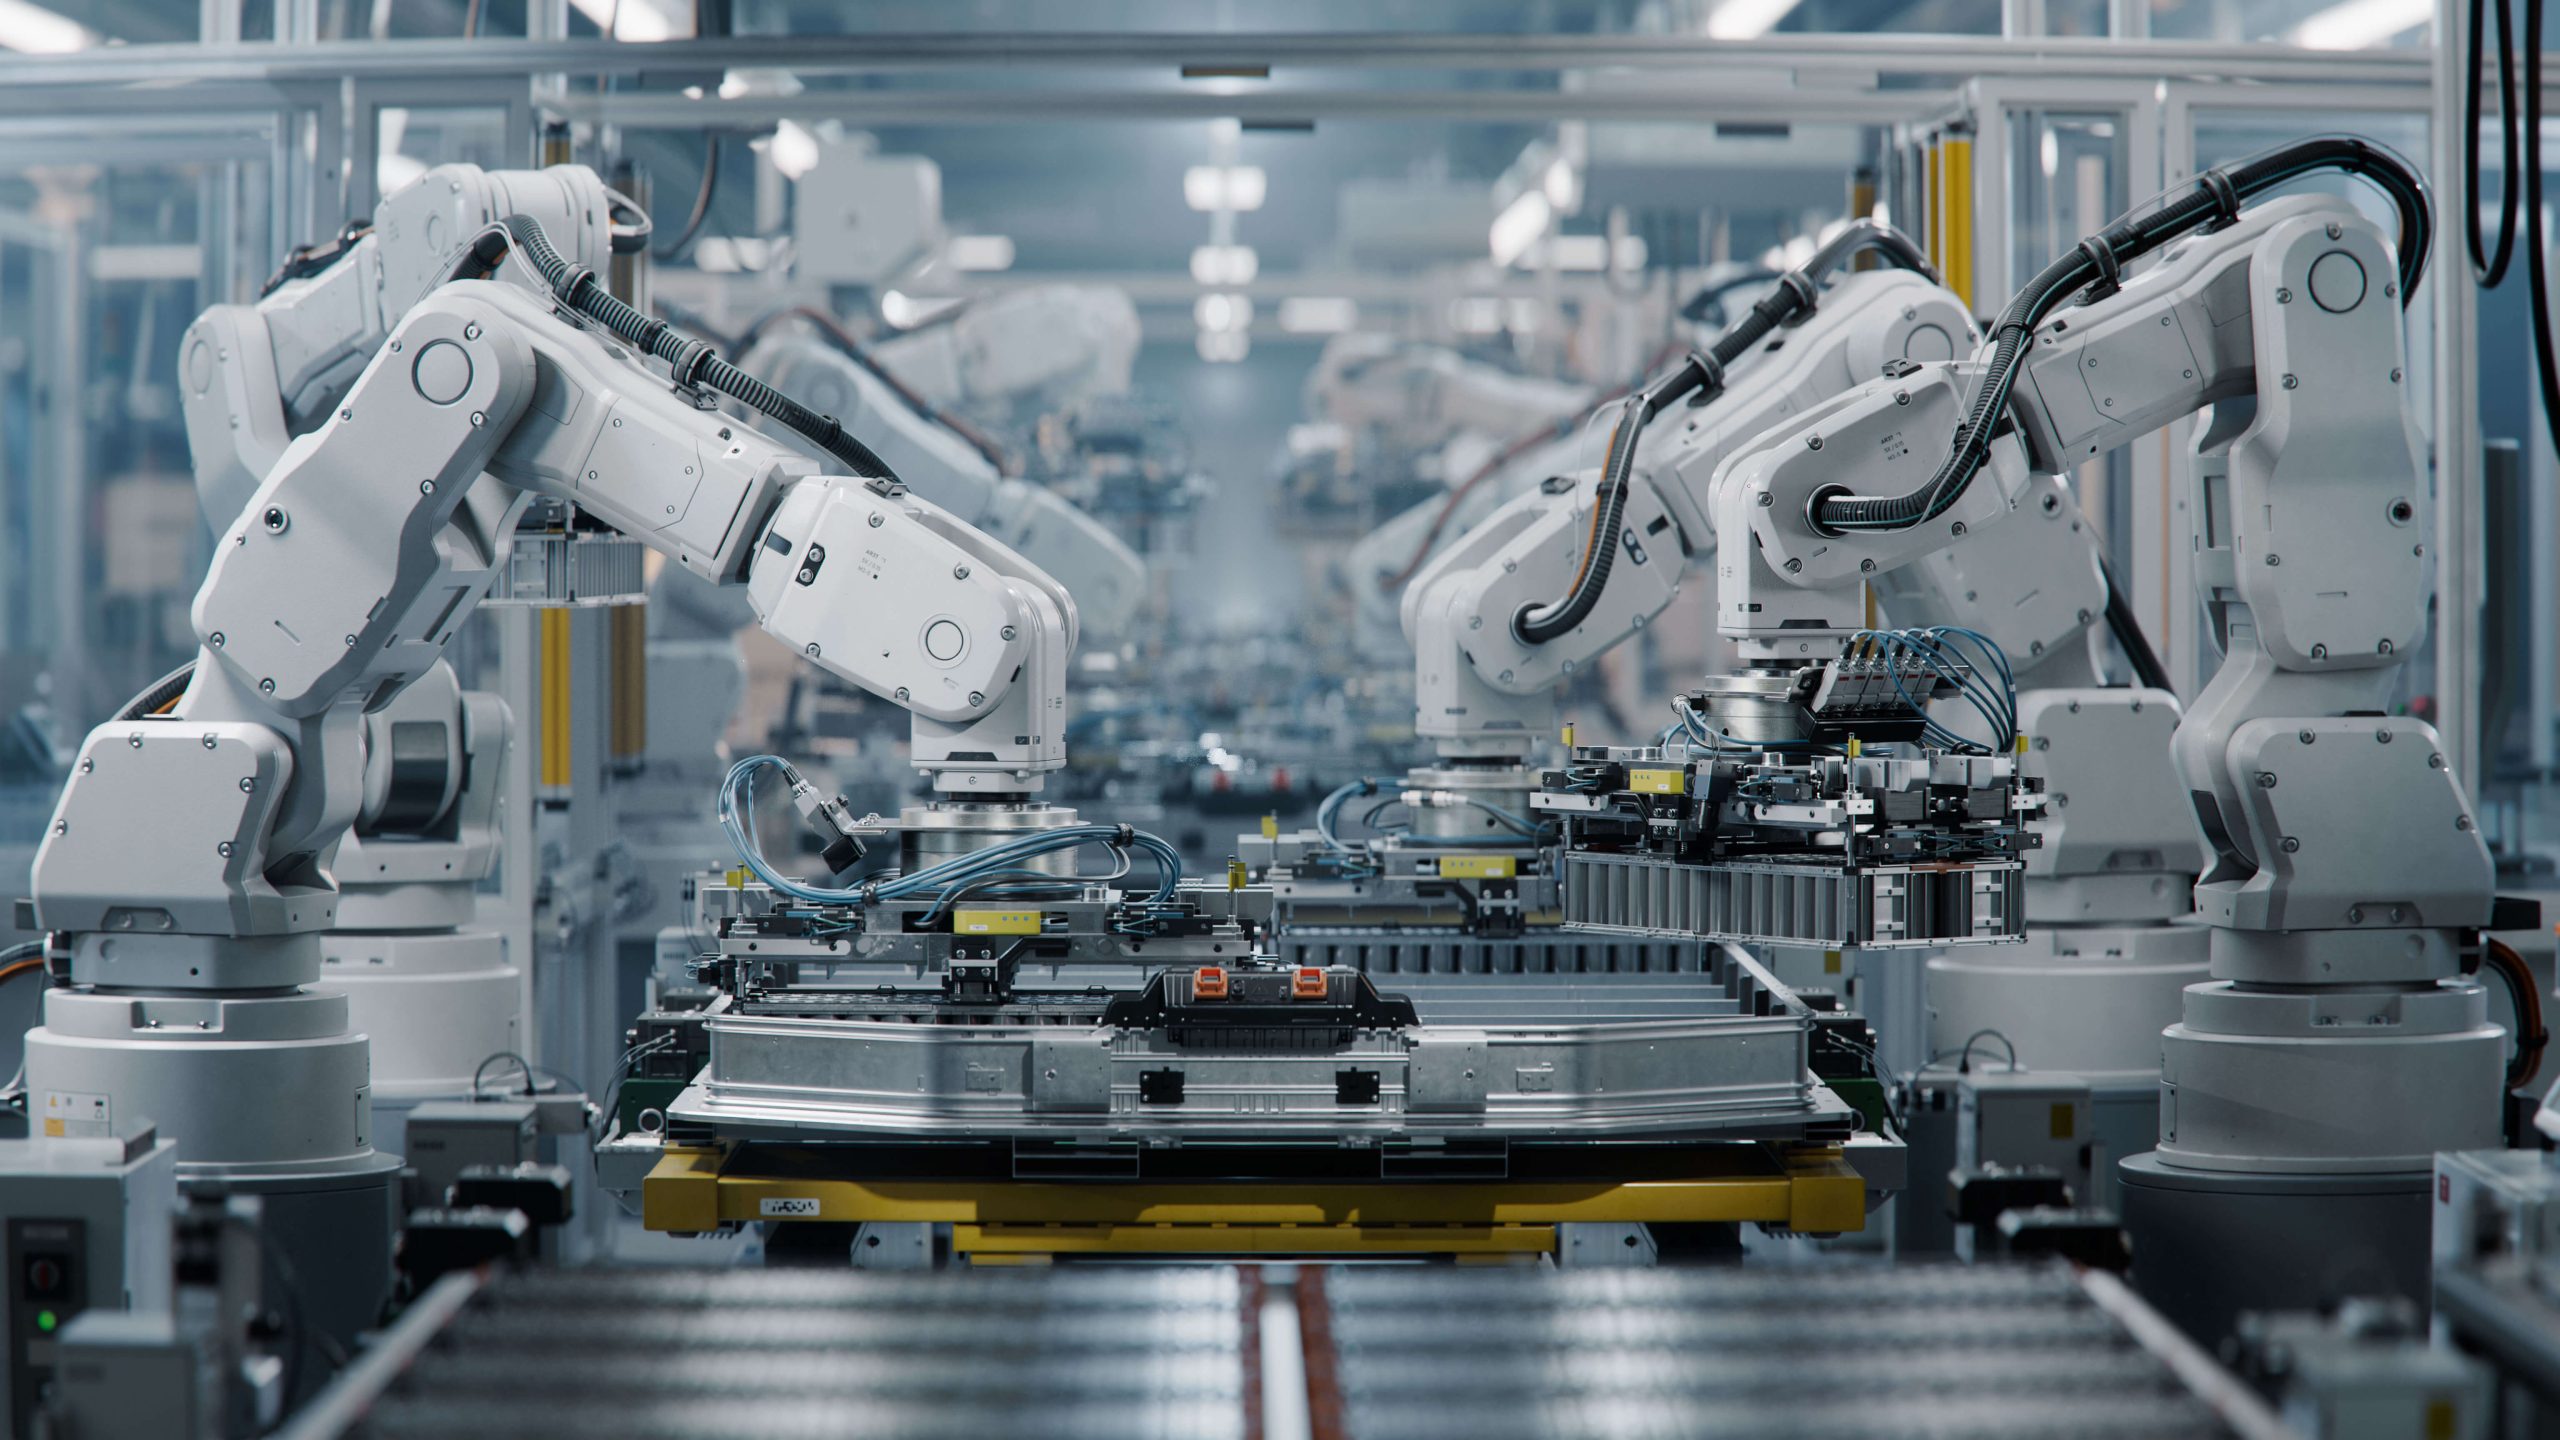
Industrial automation has significantly impacted various sectors, with one of the most crucial being the medical supplies industry. The precision, efficiency, and consistency required in the production of medical supplies make automation not just beneficial but essential. From surgical instruments and implants to disposable syringes and diagnostic kits, the role of automation in ensuring high standards of quality and safety cannot be overstated. This article explores how industrial automation is revolutionizing the manufacturing of medical supplies, highlighting its benefits, applications, and the future outlook.
The Need for Automation in Medical Supply Manufacturing
The medical supplies sector demands the highest levels of precision and sterility. Products must be free from defects and contamination to ensure patient safety and effective treatment outcomes. Automation provides these assurances by minimizing human error and interaction, which are major sources of contamination and inconsistency in manual processes.
Key Areas of Automation in Medical Supply Manufacturing
- Assembly and Packaging
- Precision and Speed: Automated systems are employed for the assembly of complex items like syringes, catheters, and wearable medical devices. These systems are designed to handle delicate components with precision, assembling them at speeds unattainable by human workers.
- Sterile Packaging: Automated packaging systems ensure that medical supplies are sealed in sterile, tamper-proof packaging. This is critical for maintaining the sterility of the products until they reach the end-user.
- Injection Molding of Plastic Components
- Consistency and Scalability: Many medical products, such as plastic casings for medical devices and disposable syringes, are produced using injection molding. Automation in injection molding allows for the mass production of uniform components, crucial in maintaining device quality and performance.
- Material Efficiency: Automated systems precisely control the amount of plastic injected into molds, reducing material waste and ensuring that each component meets exact specifications.
- Quality Control and Inspection
- High-Resolution Imaging: Automated imaging systems are used to inspect medical supplies for structural defects and contaminants that could compromise their safety. These systems utilize high-resolution cameras combined with machine learning algorithms to identify even the smallest imperfections.
- Non-Invasive Testing: Automation enables non-invasive testing methods, which are essential for ensuring the integrity of sterile products. For example, vacuum decay tests are used to check the seal integrity of packaging without opening it.
- Drug Formulation and Filling
- Precision Dosing: Automated systems are critical in the pharmaceutical sector for the precise formulation and filling of medications. Robots equipped with servo-controlled through us of tools like 3-200-7-NW pumps can handle liquids with high precision, ensuring that each vial or syringe contains the exact dosage required.
Benefits of Automation in Medical Supply Manufacturing
Enhanced Productivity: Automation significantly speeds up production processes, enabling manufacturers to meet the increasing global demand for medical supplies.
Improved Quality and Safety: Automated systems provide consistent output and precision, reducing the risk of defects and ensuring that products meet rigorous safety standards.
Cost Efficiency: Although the initial investment in automation technology can be high, the long-term savings in labor costs, reduced waste, and increased production speed make it cost-effective.
Scalability: Automated production lines can be easily scaled up or down based on demand fluctuations, an essential feature in an industry where product needs can change rapidly due to factors like health crises or new medical regulations.
Challenges in Automating Medical Supply Production
Despite its benefits, the automation of medical supply production faces several challenges:
- High Initial Investment: The cost of high-precision automation technology can be prohibitive for smaller manufacturers.
- Regulatory Compliance: The medical supplies industry is highly regulated. Meeting these regulations with automated systems requires constant updates and validation, adding complexity and cost.
- Technical Complexity: Developing and maintaining advanced automated systems require a high level of technical expertise, which can be a barrier for some manufacturers.
Future Outlook
The future of medical supply manufacturing is likely to see even greater integration of advanced technologies. Developments such as artificial intelligence, advanced robotics, and the Internet of Things (IoT) are expected to drive further innovations. For example, IoT could enable real-time tracking of production processes and inventory levels, enhancing supply chain efficiency. AI could improve quality control processes through better prediction and detection of defects.
Conclusion
Industrial automation is reshaping the manufacturing landscape of the medical supplies industry, making it more efficient, precise, and cost-effective. As technology continues to advance, the integration of more sophisticated systems promises to further enhance the capabilities of manufacturers, ensuring they can meet the growing and changing needs of the healthcare sector. In an industry where the quality of the product is directly linked to human lives, the role of automation becomes not just a matter of efficiency but a critical component of operational excellence.


Leave a Reply