
You’ve decided to start building your restaurant from the ground up in every respect. Not only are you going to open a new restaurant, but you also want it to be in a brand-new, custom-built location.
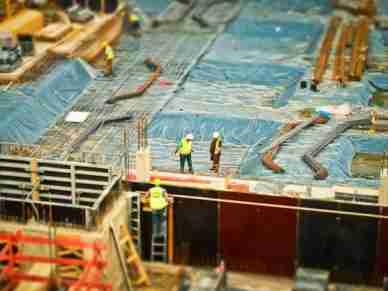
The construction of a new building always poses serious challenges—meeting codes, staying on budget and managing contractors—but it can be especially tricky when designing restaurants, where construction is made more complicated by several extra obstacles. To successfully build a new restaurant, you need to ensure that the end result is workable for staff and enjoyable for customers—and that it also follows health regulations and restaurant-specific building codes.
In cases like these, even advice from experienced construction companies may not give you the full picture. You’ll need some extra guidance to be ready for the unique challenges of restaurant construction.
Avoid Common Construction Pitfalls
To start, look for a construction company or contractors who have experience with designing restaurants. Standard construction expertise will be helpful, but it may not be enough to successfully design and build a new restaurant.
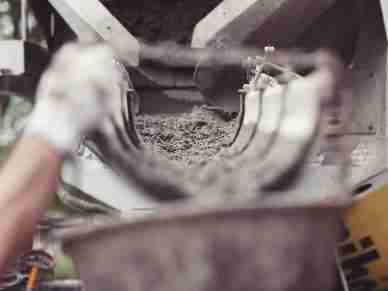
When building a restaurant, you’ll face some of the usual challenges of construction—like correctly estimating the budget and required construction time. It’s not uncommon for construction to run over budget or take much longer than initially expected.
If possible, get a second or third opinion on major aspects of the building to give yourself the best possible understanding of how expensive the project will be and how long it will take. Contractors are under pressure to oversell their ability to work fast and below budget—meaning you shouldn’t necessarily believe the first quote you receive.
In general, health and building inspectors will be more stringent about local codes when it comes to restaurants. When designing and building your restaurant, you will want to make sure you’re not skirting building codes and that you have someone involved with the expertise to know when your restaurant’s design may not be up to par. Otherwise, you can risk the steep costs of not being up to code—like fees and fines—or having construction on your restaurant shut down altogether.

Consider Long-Term Effects of Design Decisions
When designing and outfitting a new restaurant, there typically aren’t many opportunities to cut corners and save. Deals often come with unintended consequences down the line, even if you may save some money upfront.
For example, while you may be tempted by a kitchen’s worth of used restaurant equipment, used equipment typically comes without a warranty, meaning you’ll be out the full cost of repairing or replacing it when it fails.
Pay careful attention to the potential unintended consequences of your design decisions, too. For example, restaurants have become extremely loud over the past few years, with average restaurant loudness around 80 decibels. This is loud enough to cause hearing damage. The increase in noise levels is in part due to several design trends, including high, exposed ceilings, minimal decor, and a lack of soft surfaces. This all comes together to create spaces that reflect a lot of sound.
Designers and contractors with experience in restaurant construction will be able to provide you with feedback on your design and help you catch potential issues—like potentially high noise levels—before construction begins.
Field Restaurant-Specific Design Advice
You can also consider fielding advice and insight from potential restaurant workers early in the design process. For example, a line cook or head chef may be able to tell you right away that a particular kitchen layout will be inefficient or totally unworkable. A bar manager or bartender may catch inadequacies in bar design—like a missing sink or insufficient storage.
A person with experience in the food industry can also tell you which materials will be best for kitchens, bars, and food prep sites. Do you want to use stainless steel and seamless walls for your kitchen, or do you want recommendations for alternative food-safe materials and designs?
At the same time, you’ll want to use your best judgment when implementing this advice. Space is at a premium in most cities, and oversized kitchens and bars aren’t necessarily the best use of the room you’ll have. If a recommendation seems like too much, consider getting a second opinion.

Navigating the Challenges of Restaurant Construction
The construction of any new building is going to present some serious challenges—especially when you’re building a new restaurant. During the design and planning phases of construction, you should take special care to make sure you don’t run into any of the pitfalls common in restaurant construction.
You should begin by soliciting advice and quotes from contractors or construction companies with experience in restaurant construction. Then, this advice should be supplemented by feedback from workers with food industry experience that is relevant to the kind of restaurant you’re building.


Leave a Reply