How to add, edit and delete sections in SiteGround Email Marketing
Table of Contents
Sections are the building blocks of your marketing campaign emails. Learning how to manage and organize them is essential for creating visually appealing and functional campaigns.
This guide will explain how to create, edit or delete sections in SiteGround Email Marketing.
What is an email section?
An email in SiteGround Email Marketing is an aggregation of HTML blocks called sections. A section is a separate area comprising text, images, and other media. You can have as many sections as you like in your emails.
Each section can have unique properties from the rest. This allows you to diversify the design and highlight different aspects of your campaign.
How to add a section
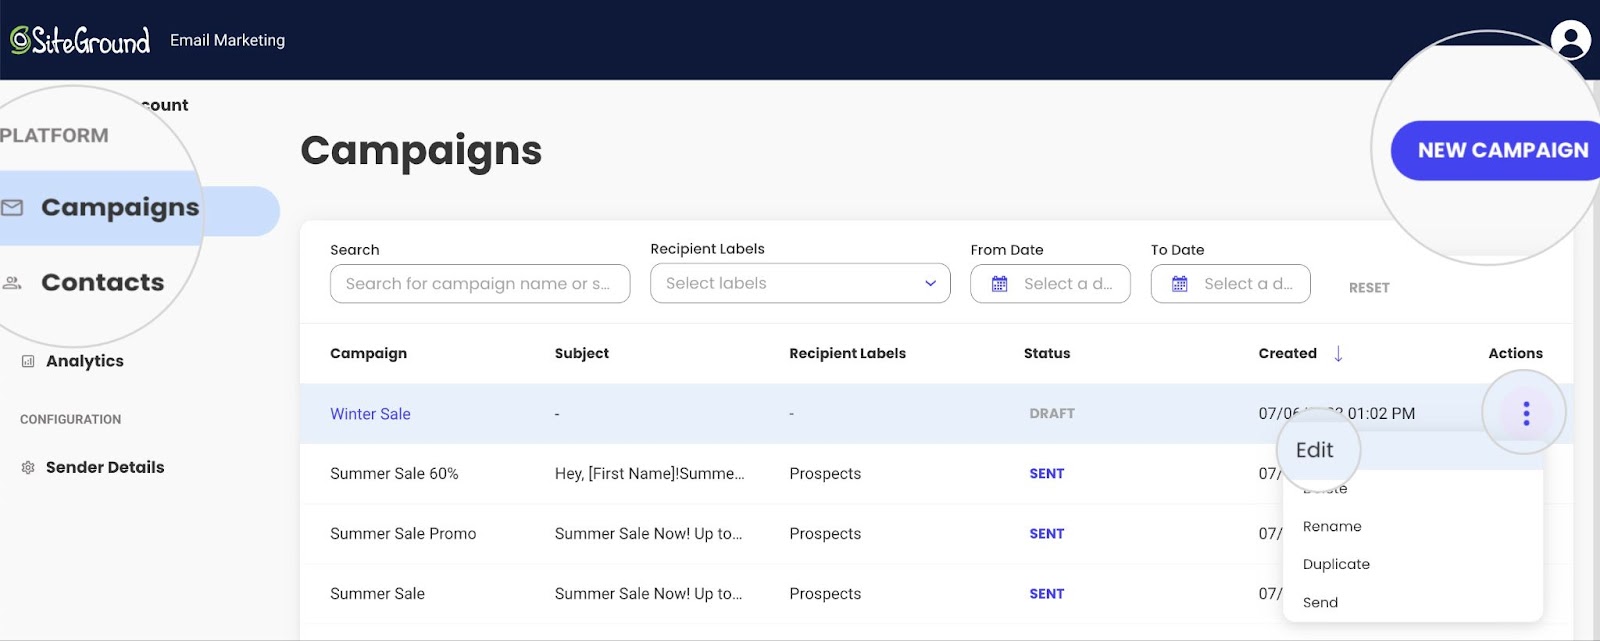
You can add sections while editing a campaign in Email Builder. To access the builder, go to Email Marketing > Campaigns, click on a campaign’s Actions menu, and select Edit. You will also open the builder when you start a new campaign using the New Campaign button.
Inside the Email Builder, you can start by choosing a basic layout, which will automatically add placeholder sections arranged per the layout’s design. You can also start with a blank email and manually add sections.
How to add a section on a blank email
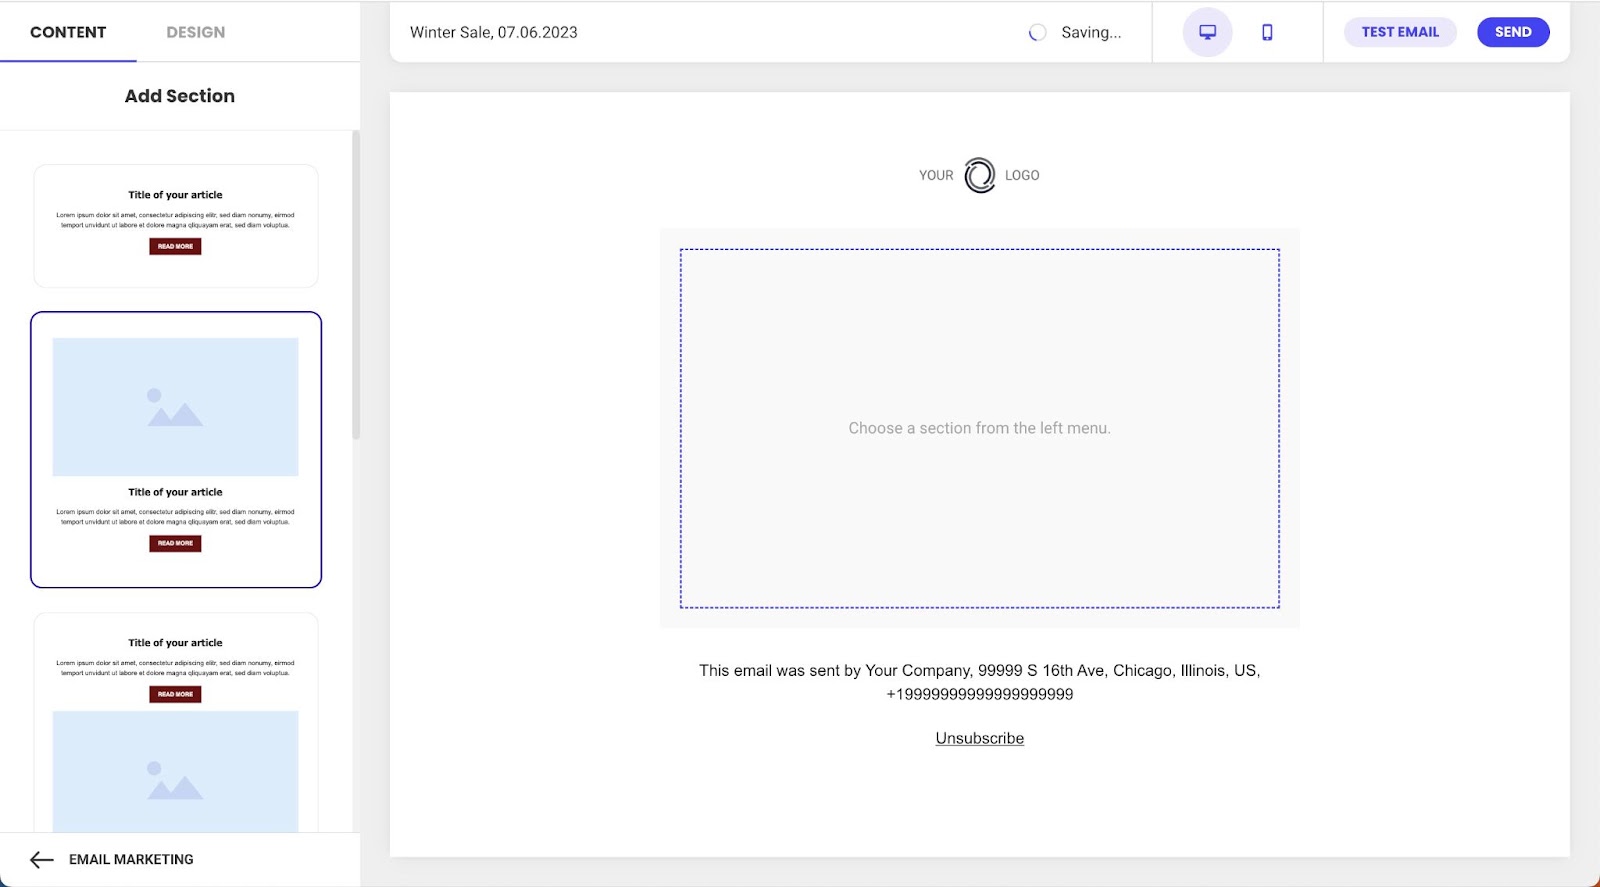
If you’ve selected to start from scratch, you will see the Add Section button in the email body area. Press the button to add your first section.

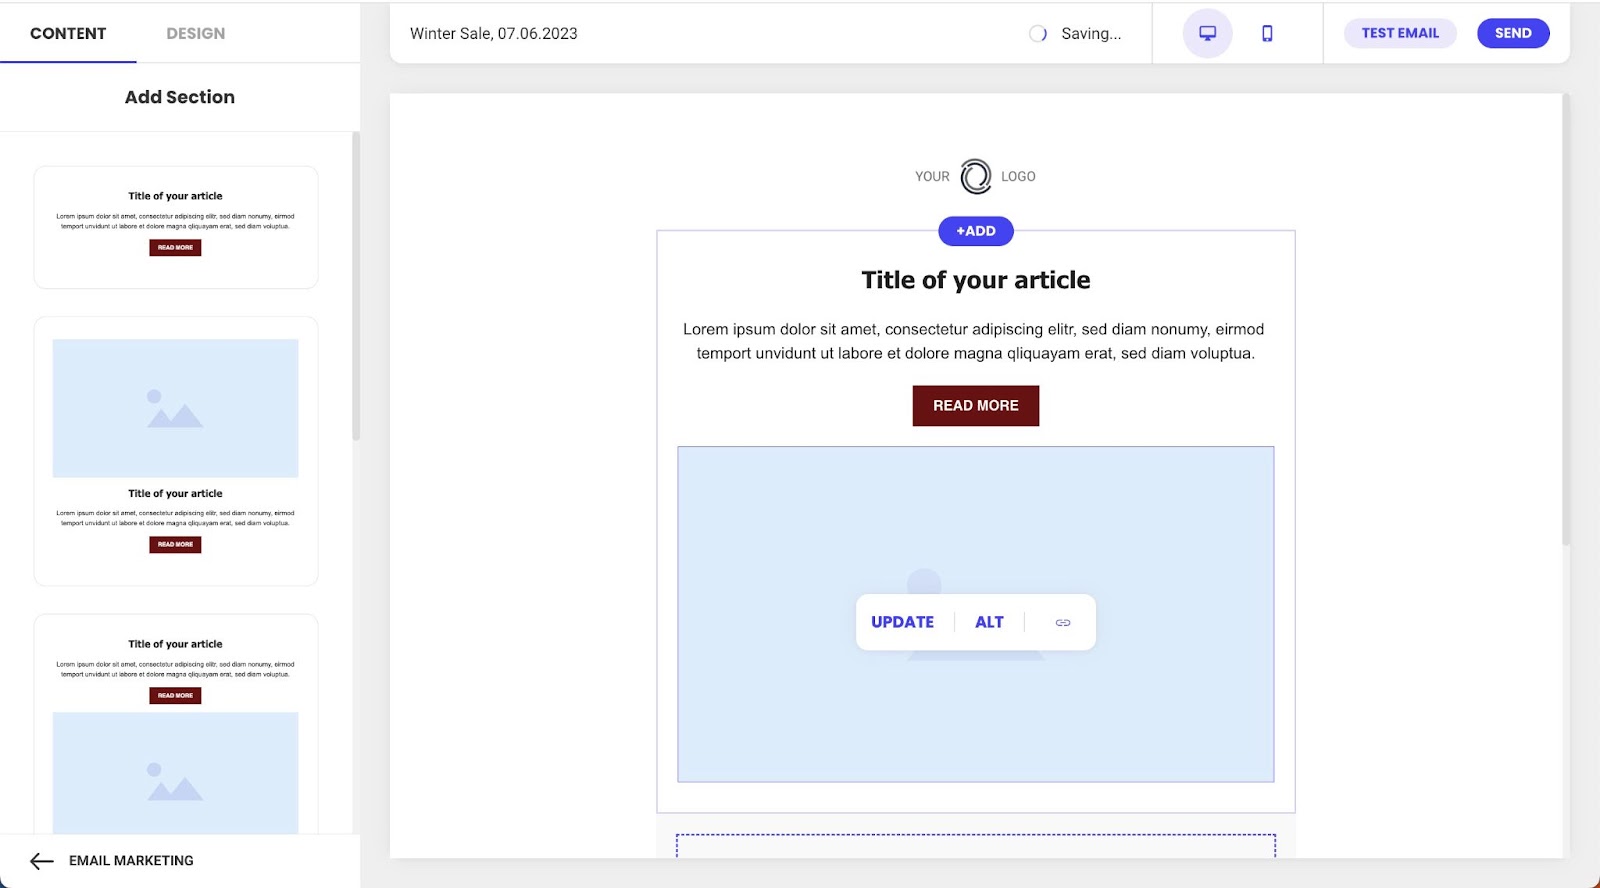
The side menu on the left will present available section layouts. Click on the chosen design, and the section will appear in the center of the email body.
It will contain placeholder text, a button, and a blank image area (if the chosen design includes an image). You can proceed by replacing the placeholder content with your unique content.
How to add more sections
If you’ve started with a basic layout or your email already contains sections, hover over one of the existing sections. Two Add buttons will appear on the top and bottom of the current section. Press either to create a new section above or below the selected one.
Similar to your first section, choose a layout for the new one.
How to edit a section
Once you have placed a section, you can edit its content and settings. Click on the chosen section to see the available actions.
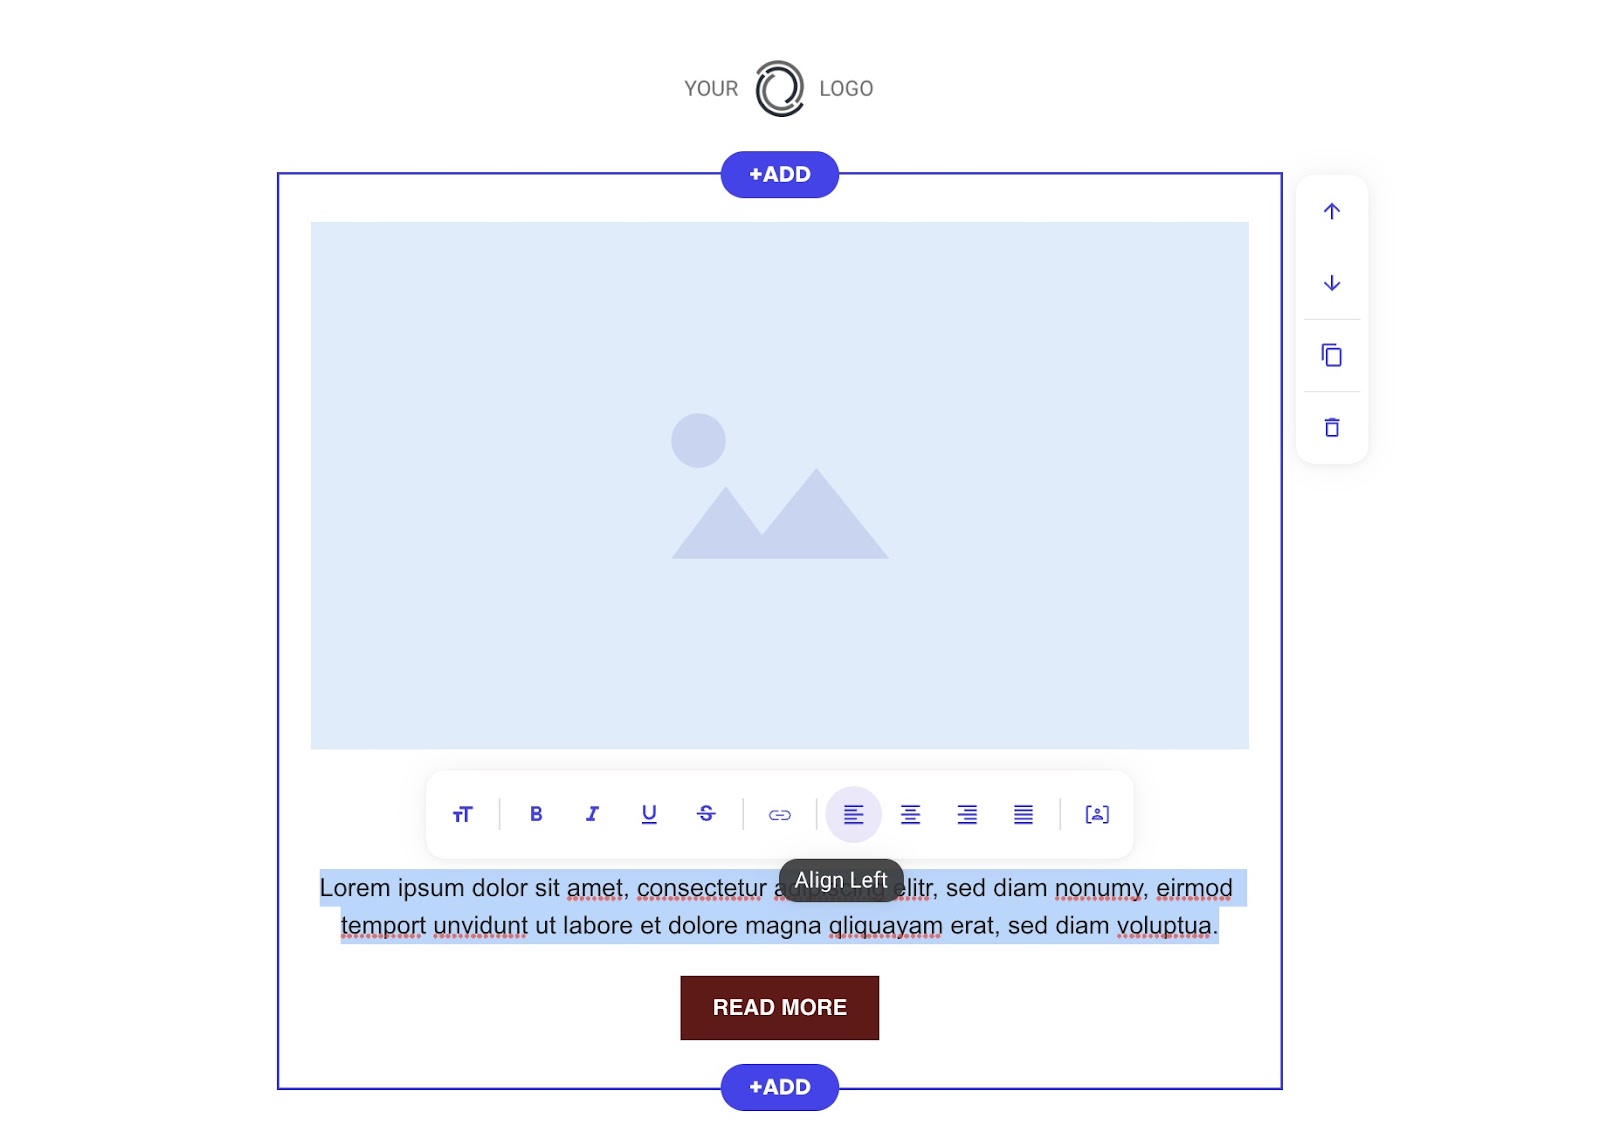
How to edit the text in a section
Editing the text is done similarly to any text editor. When you highlight a part, a context menu will appear on top of it, with several formatting options.
How to change the general options of a section
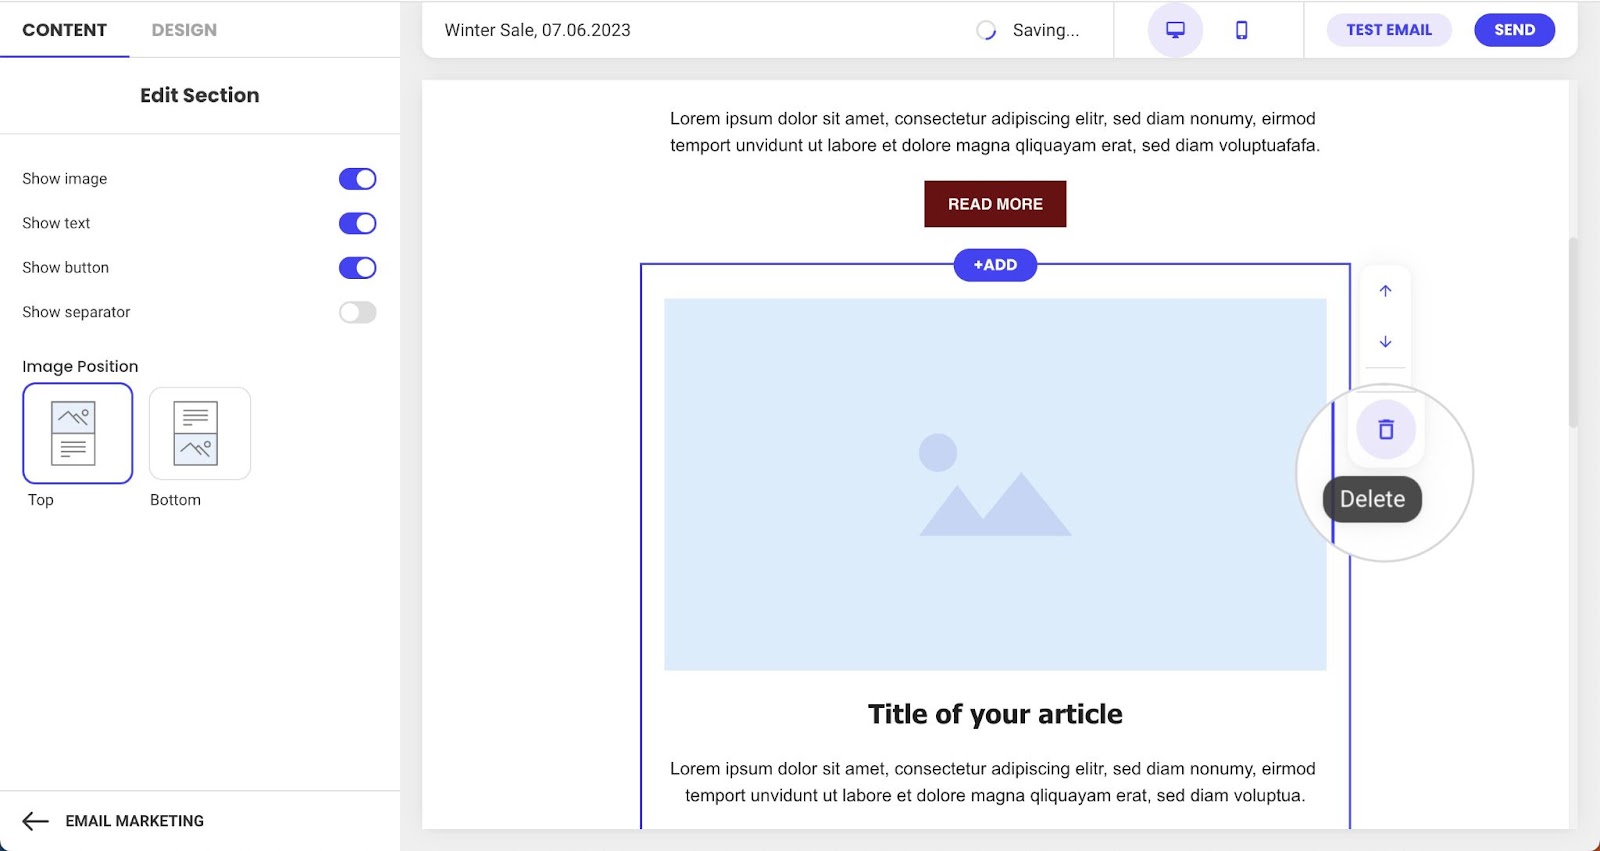
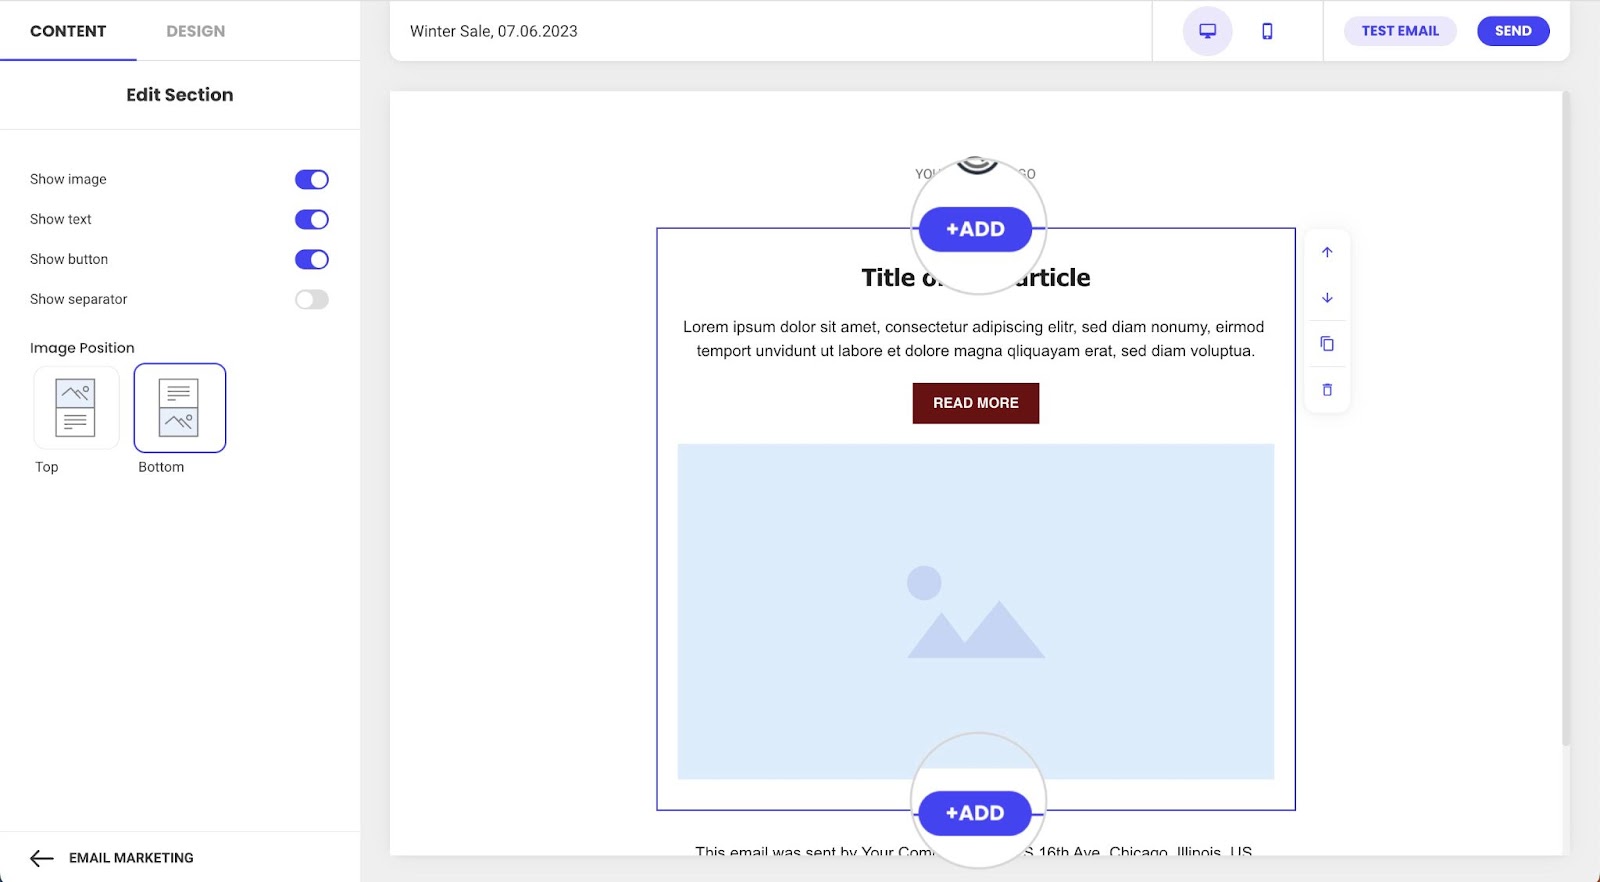
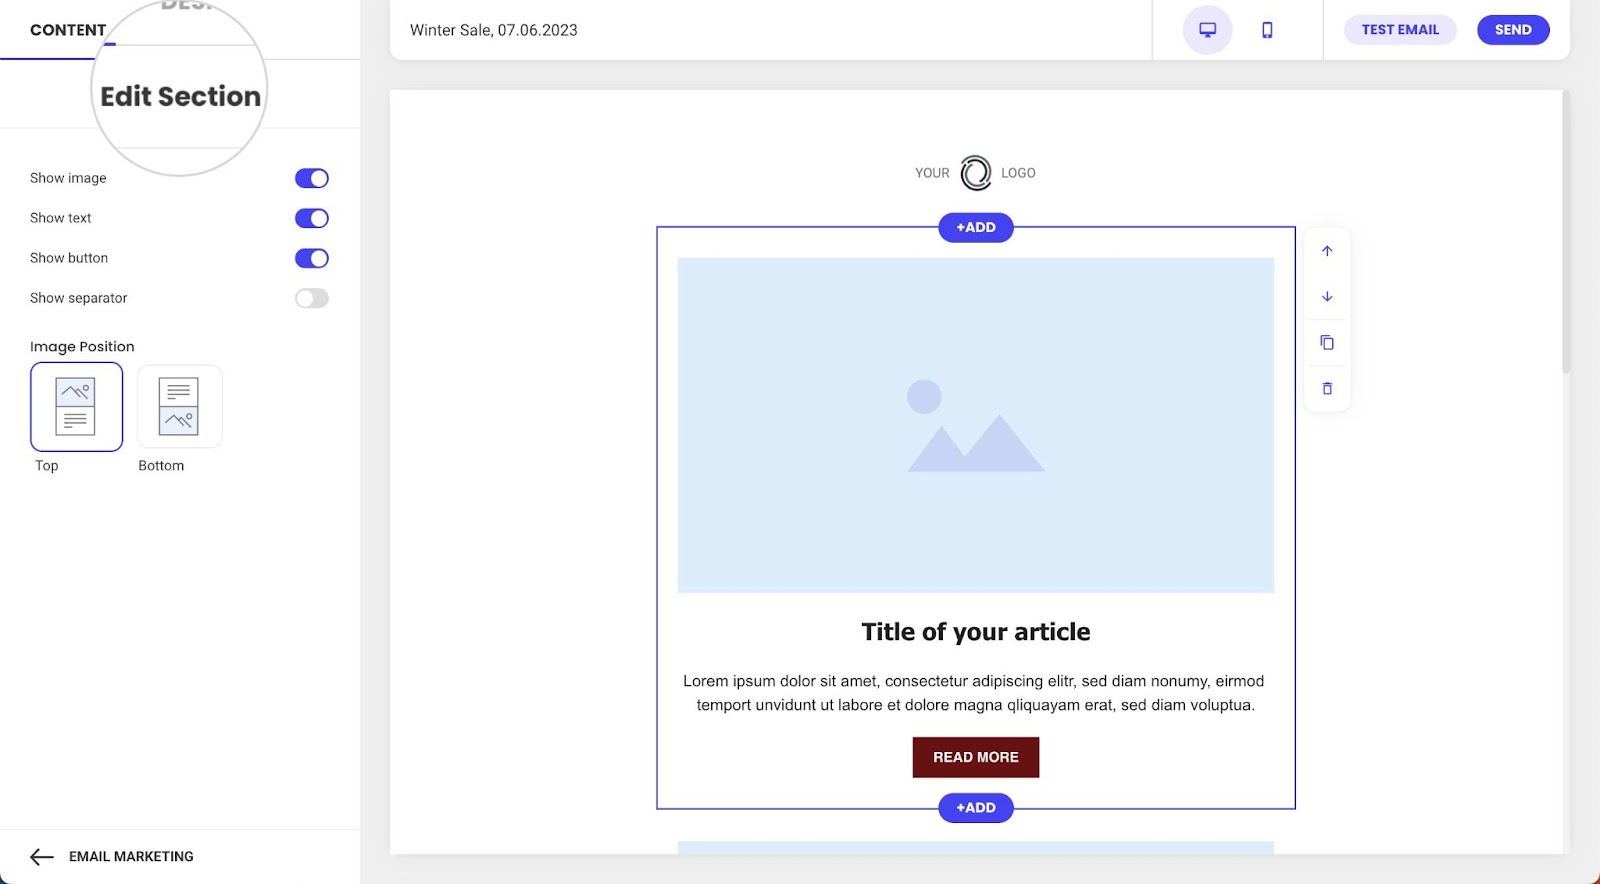
When you select a section, the left-side menu will switch to Edit Section mode. It presents several options to define the general appearance of the section.
- Show image – The section will display an image if the slider is turned ON. If disabled – the section won’t include an image area.
- Show Text – The section will include a text box if the slider is turned ON. If the slider is OFF – only buttons and images will appear.
- Show button – If the slider is turned ON, the section will include a call-to-action (CTA) button. Otherwise, the selected section won’t include one.
- Show separator – If this option is enabled, a separator line will appear at the end of the section.
- Image Position – Defines the image alignment to the text.
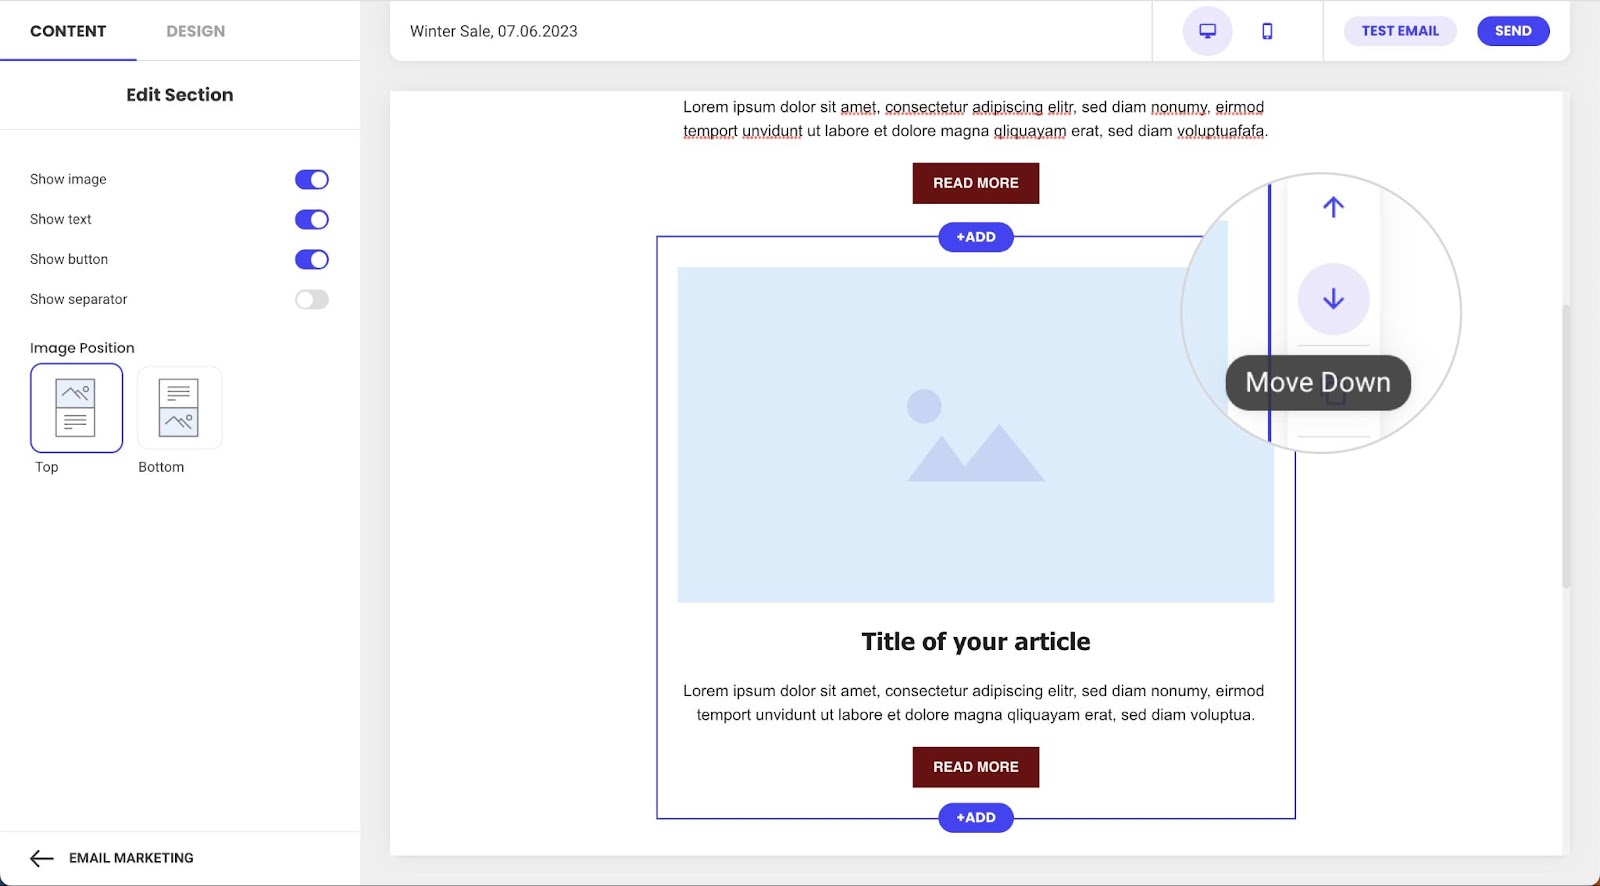
How to change the position of the section
Moving the cursor over the selected section will display a few additional options on the right. One of them is moving the section’s position in the email body. If you have multiple sections, the arrow buttons will switch the selected section with its neighboring sections.
- The up arrow Move Up will switch the section with the one on top.
- The down arrow Move Down will exchange the positions of the selected section and the one below.
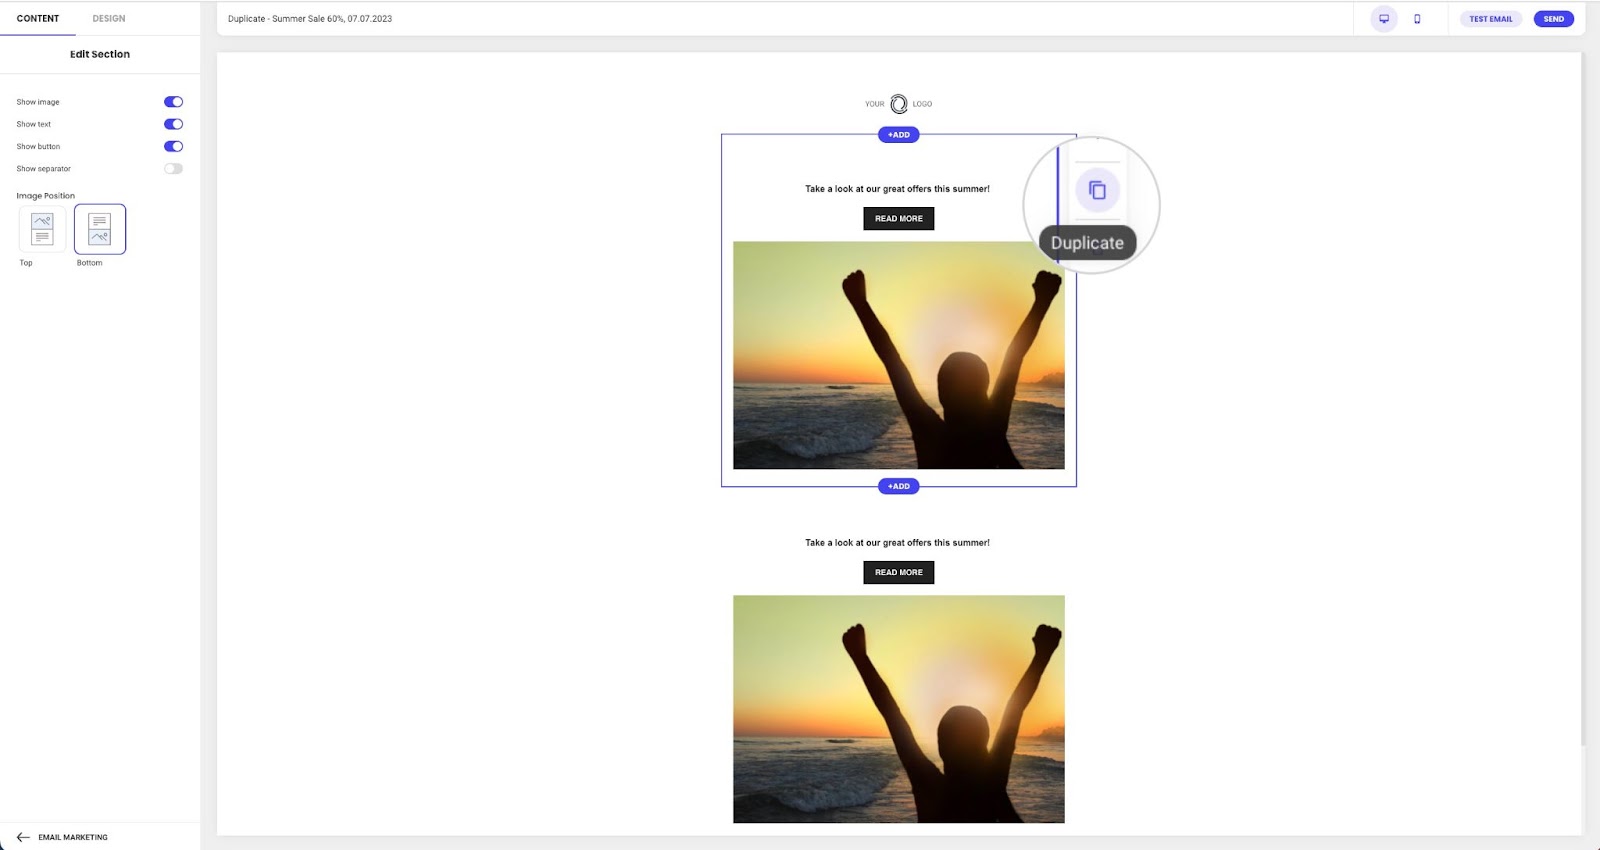
How to duplicate a section
You can duplicate a section by selecting the Duplicate button from the pop-up menu found on its right side. The copy will appear below the original.
How to delete a section
To delete a section, highlight it by directly clicking on the particular section. From the menu on the right side of the section, press the Delete button. The section below will take the place of the deleted section.