Mozilla Thunderbird Tutorial
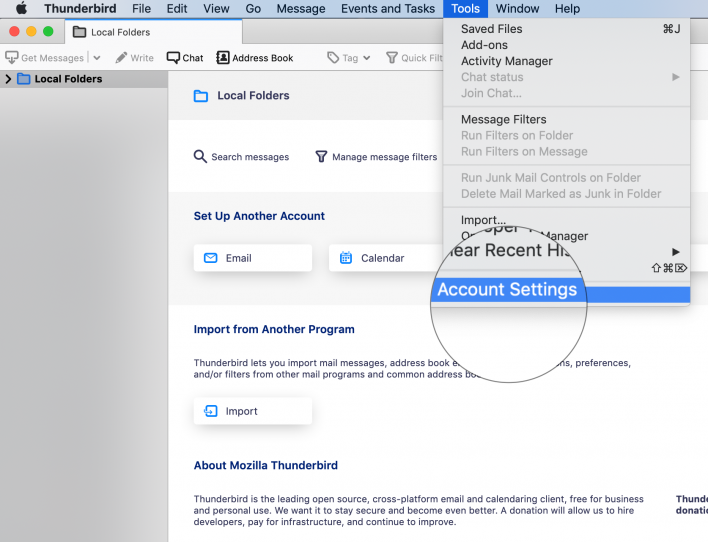
To configure manually your email accounts with Mozilla Thunderbird first open the program on your computer. Then click the Tools tab > Account Settings.
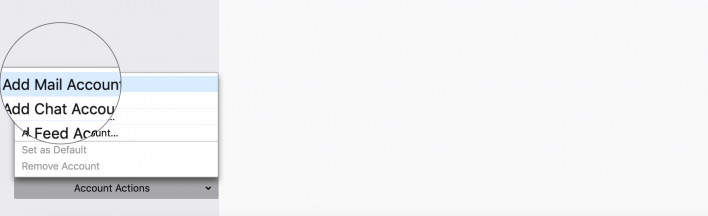
From the new window press on Account Actions, then Add Mail Account account.
Enter your name as you would like it to appear in the Your name field for all outgoing messages. Input your full email address in the Email address field. Provide the password for the email account. Click Continue.
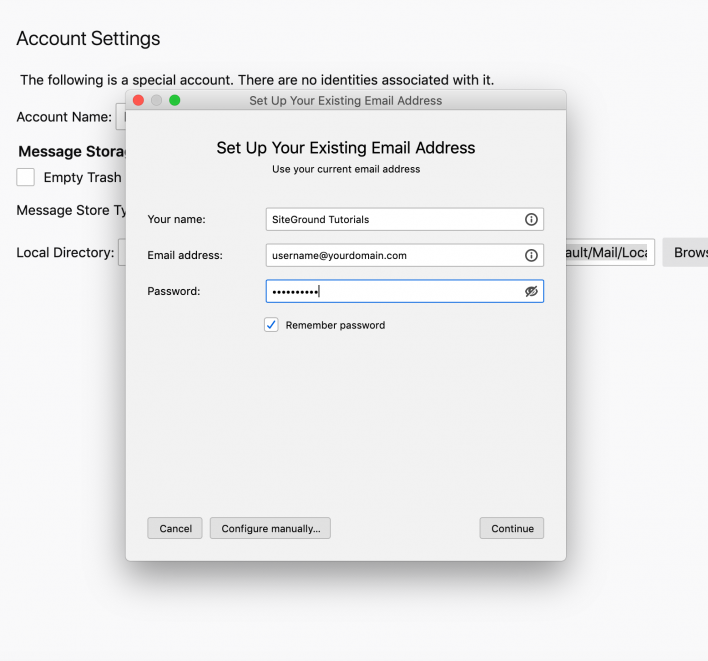
If your email address and password are correct, you will see a confirmation Configuration found by trying common server names. Click on the Configure manually… button at the bottom of the pop-up window to continue. Use the following settings:
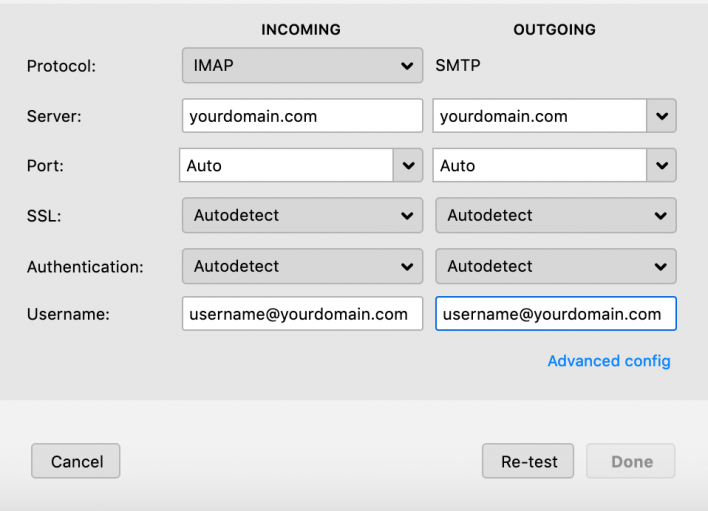
- The Incoming setting is set to IMAP by default. Unless you specifically want to use POP3 you should leave it that way;
- For Server check the exact hostname to use with each of your mail accounts in your Site Tools > Email > Accounts, choose the preferred email account and go to kebab menu > Mail Configuration and select Manual Settings tab;
- Leave the Port option on Auto;
- For SSL and Authentication select Autodetect;
- Set Username to your full email address (i.e username@yourdomain.com) for both Incoming and Outgoing.
When ready, click the Re-test button so that Thunderbird can test if the settings are correct.
To verify the email settings, go to your Site Tools -> Email -> Accounts. Choose the preferred domain name and go to the kebab menu > Mail Configuration. In there click on Manual Settings.
If you have configured everything correctly, the Done button should become available. Click it and your email address will be added to your Thunderbird and you can start managing your emails.