Initial Drupal Setup
Table of Contents
WYSIWYG editor
Since Drupal 8, there is a built-in WYSIWYG (What You See Is What You Get) API which you may use with the pre-installed CKEditor HTML editor as well. This HTML text editor brings many of the powerful WYSIWYG editing functions of known desktop editors and doesn’t require any kind of installation on your computer.
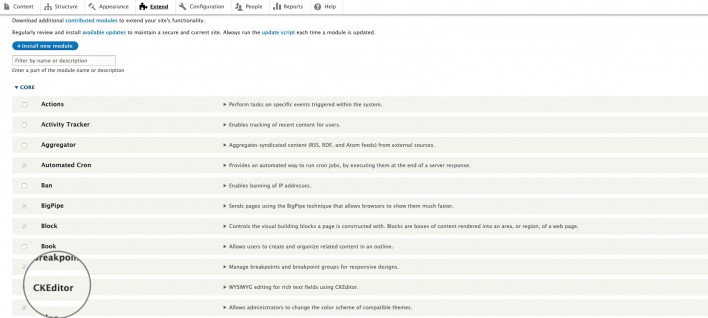
You may find the CKEditor module by clicking on Extend in the Drupal admin panel:
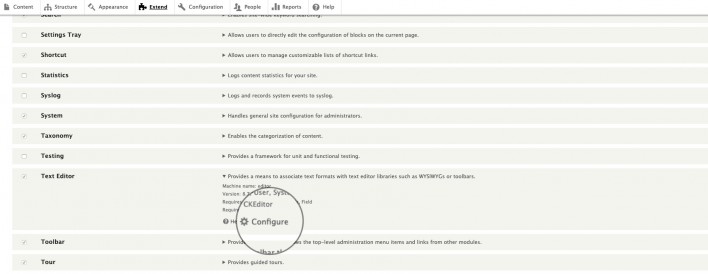
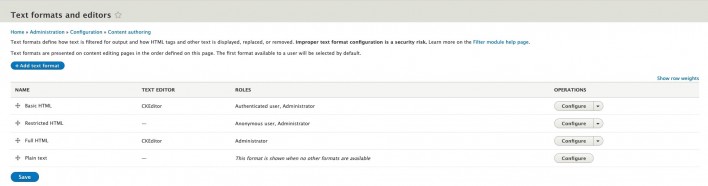
In case you prefer to use another editor for your Drupal application, you may change the default text editor by clicking on the Text Editor module. Then click on Configure which would take you to the Content authoring page:
On this page, you may insert new formats by clicking on Add text format or manage the currently added ones by clicking on Configure.
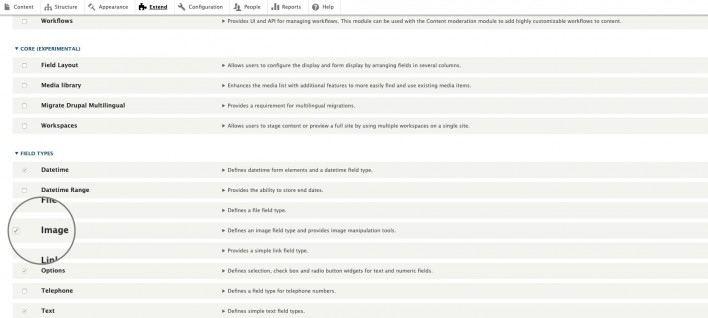
Images module
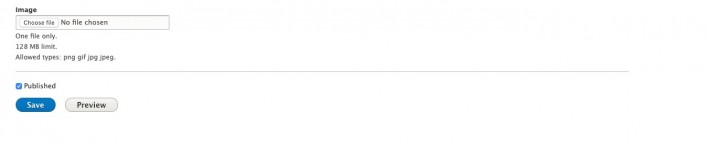
To easily upload and insert images to your content, you will need to use another module – Images. Thankfully, this module also comes pre-installed with Drupal. All you need to do is make sure it’s enabled from the Extend page.
Now, when you edit your content, you will see an Image section under your articles that you can use to upload images from your computer.