Menu management
Table of Contents
Having proper navigation is important for every website. After we’ve created the different sections of the site, it’s now time to link them together.
Add Menu Items
To add menu items to your main menu, go to Structure > Menus.
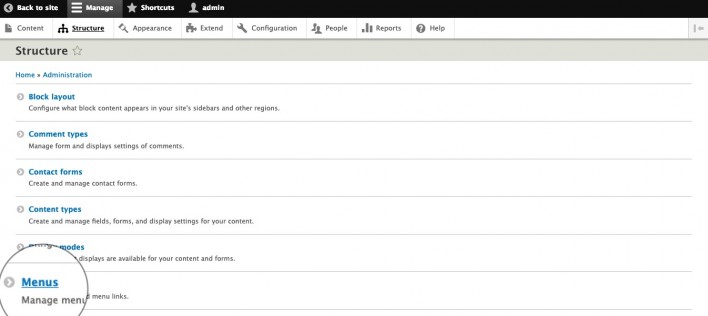
Here, you will see all the menus you have on your site. By default, Drupal will come with the Main navigation menu and we would use that one.
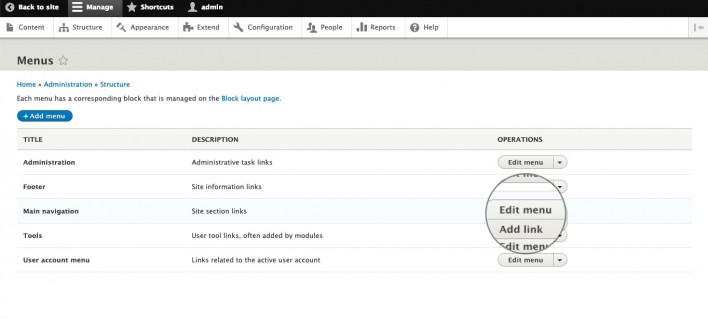
To add links to it, click on the arrow next to the Edit menu. A drop-down button Add link would appear.
You will be redirected to a page where you have to add the Menu link title and Link to the page (such as /contact).
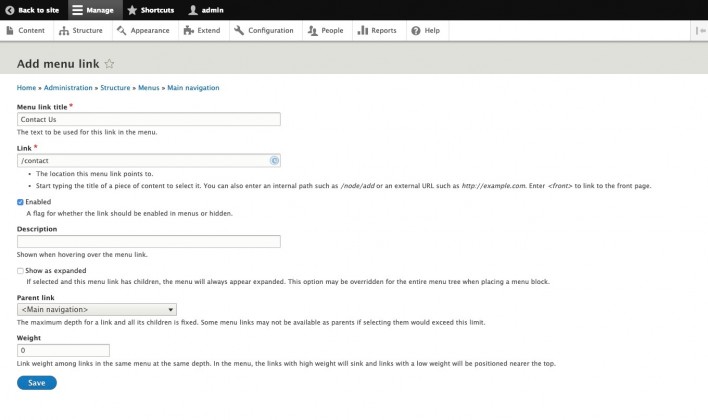
After the necessary changes are applied, just click Save and your new menu would appear on the Homepage.
Reorder and Edit Your Menu Items
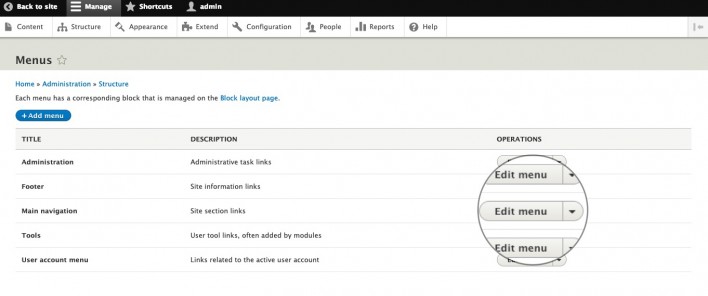
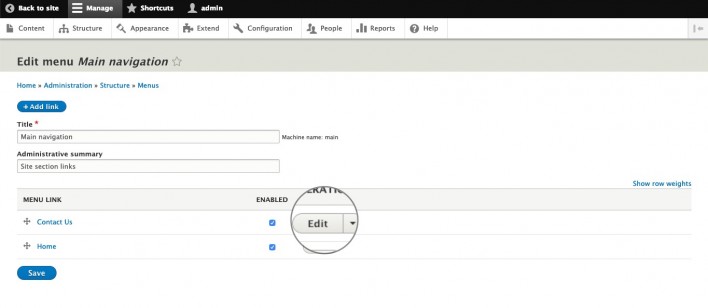
Ordering your menus is very simple in Drupal. To do this, go to Structure > Menus and choose the menu you would like to rearrange. For this tutorial, we would reorder the Main navigation menu. To proceed with the rearrangement we should click on Edit menu next to it.
Now, you can see all the active menu elements that our website currently has. You can rearrange those menu elements by using drag-and-drop. Note, that you can make them sub-items by dragging the menus slightly to the right.
After you’ve arranged the menus the way you want, you can edit them too from the Edit button next to each menu item. Doing this will allow you to change different attributes of that menu like its Weight, Link or Description for example.
Once you’re done, press Save and navigate to your site to check the modifications you’ve made.