Scheduled Campaigns Sending in SiteGround Email Marketing
Table of Contents
Quite often, the success of your marketing campaigns depends on careful planning and timing. By sending campaigns at the right time, you will reach as many subscribers as possible, synchronize your operations better, increase clients’ engagement with your products, and raise open rates and click-through rates.
As a comprehensive marketing tool, SiteGround Email Marketing features the option to choose the exact time when to send a campaign. Read the following guide to learn all about the scheduled campaign sending in SiteGround Email Marketing and how to use it.
How to schedule campaign sending in SiteGround Email Marketing
The Email Marketing tool allows you to schedule a campaign release from the Email Builder, available for any campaign draft.
- To access the Email Builder, navigate to Email Marketing > Campaigns.
- If you want to schedule the release while building a new campaign, press the New Campaign button in the top right corner.
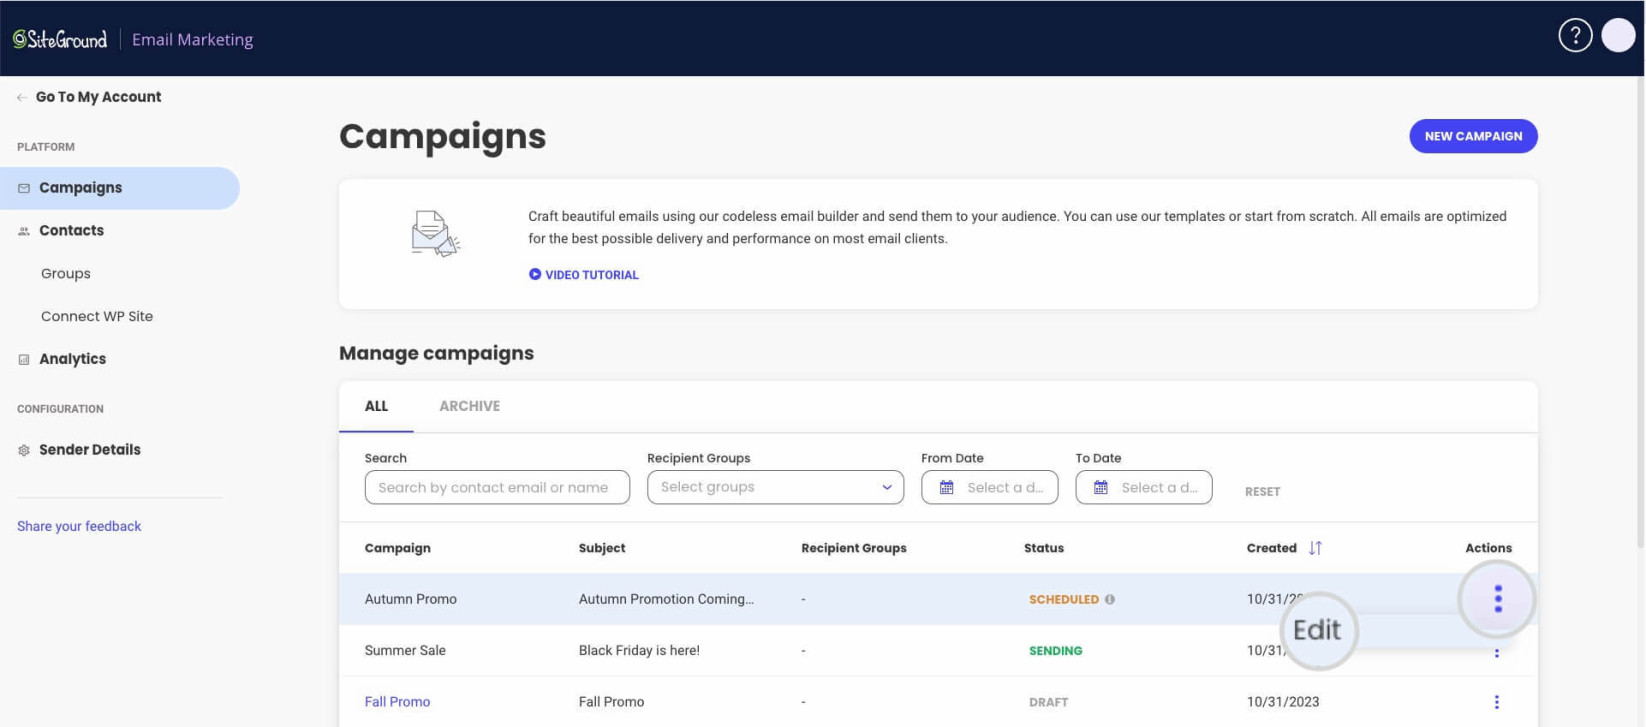
To schedule an existing draft, click on its corresponding Actions menu (kebab menu) > Edit.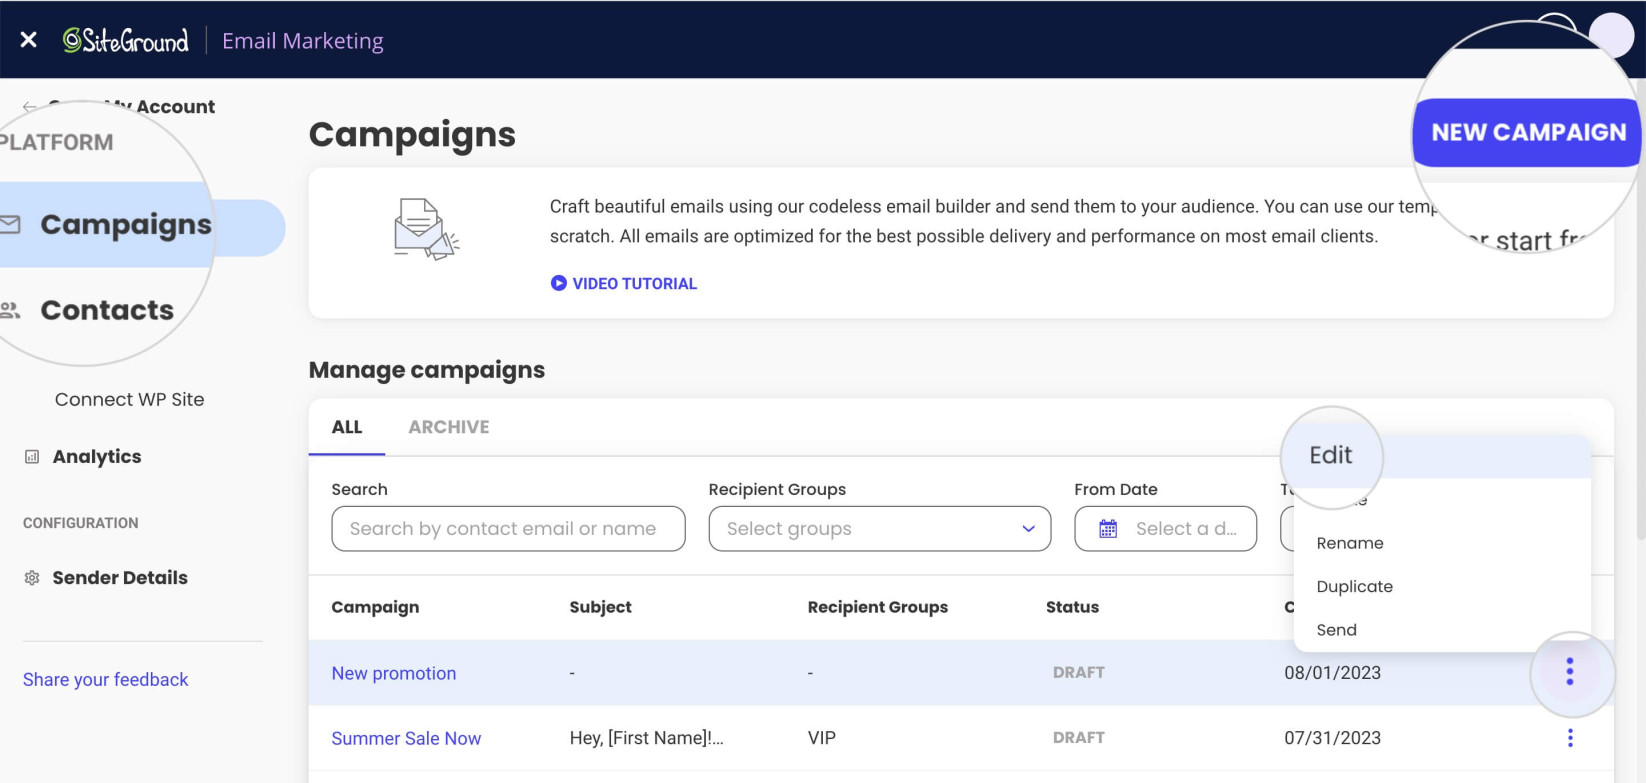
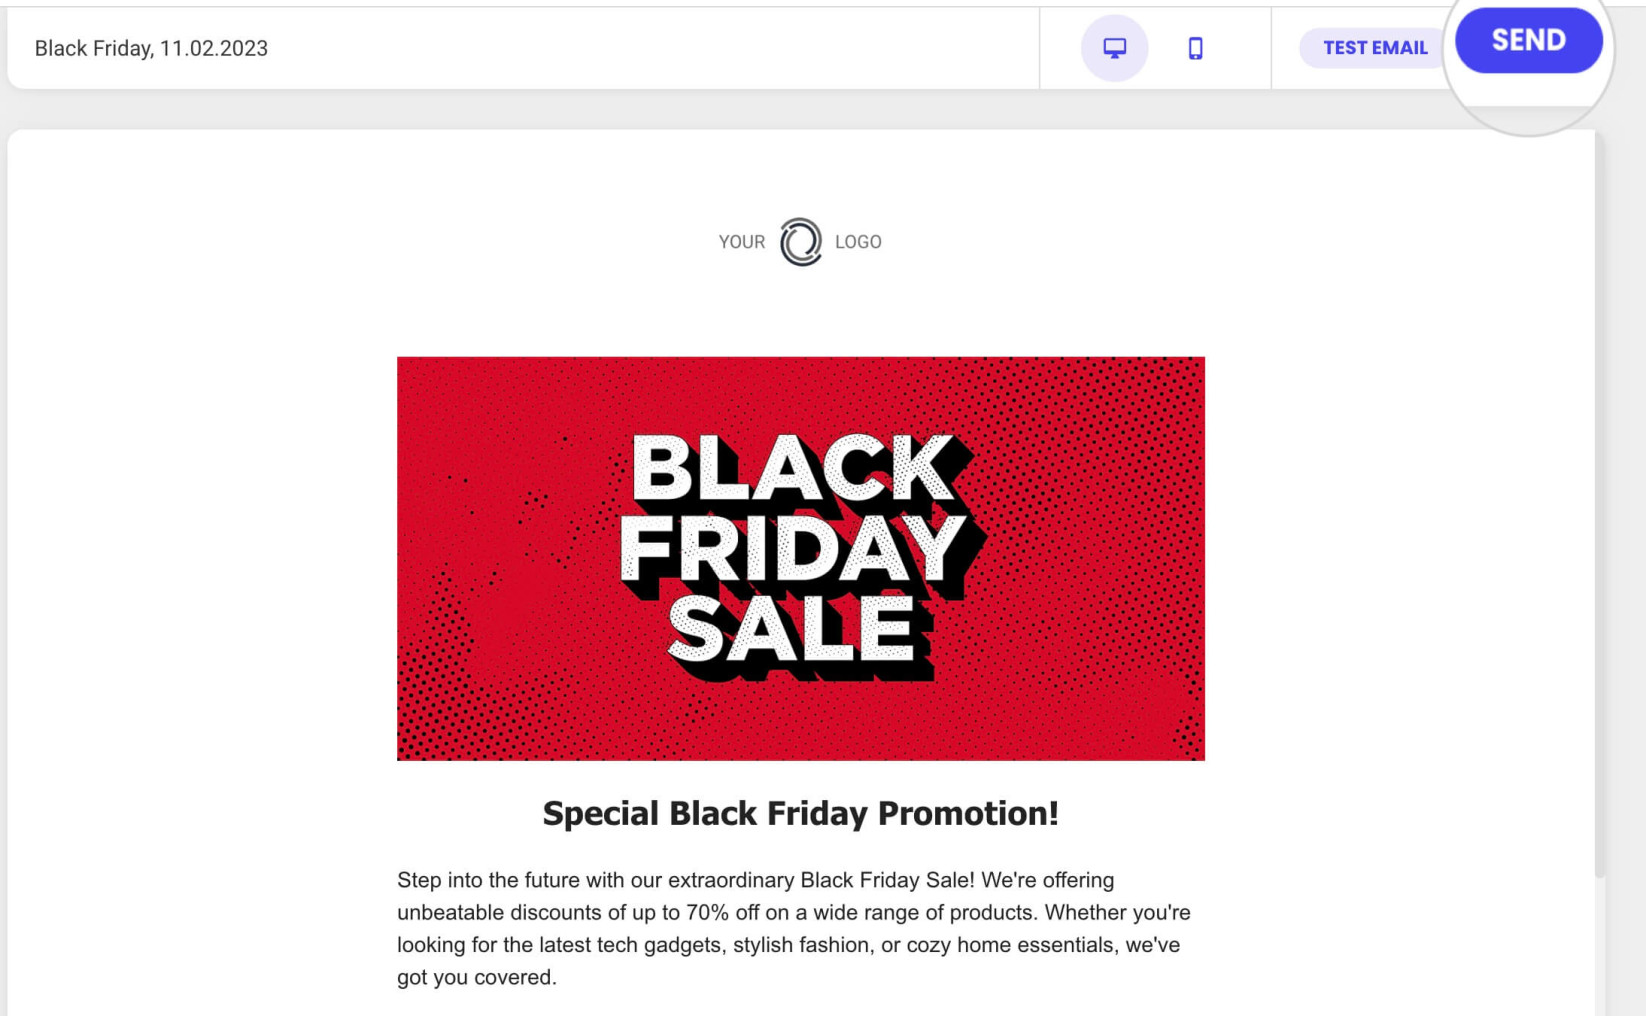
- Inside the Email Builder, press the Send button in the top right corner to access the sending options.
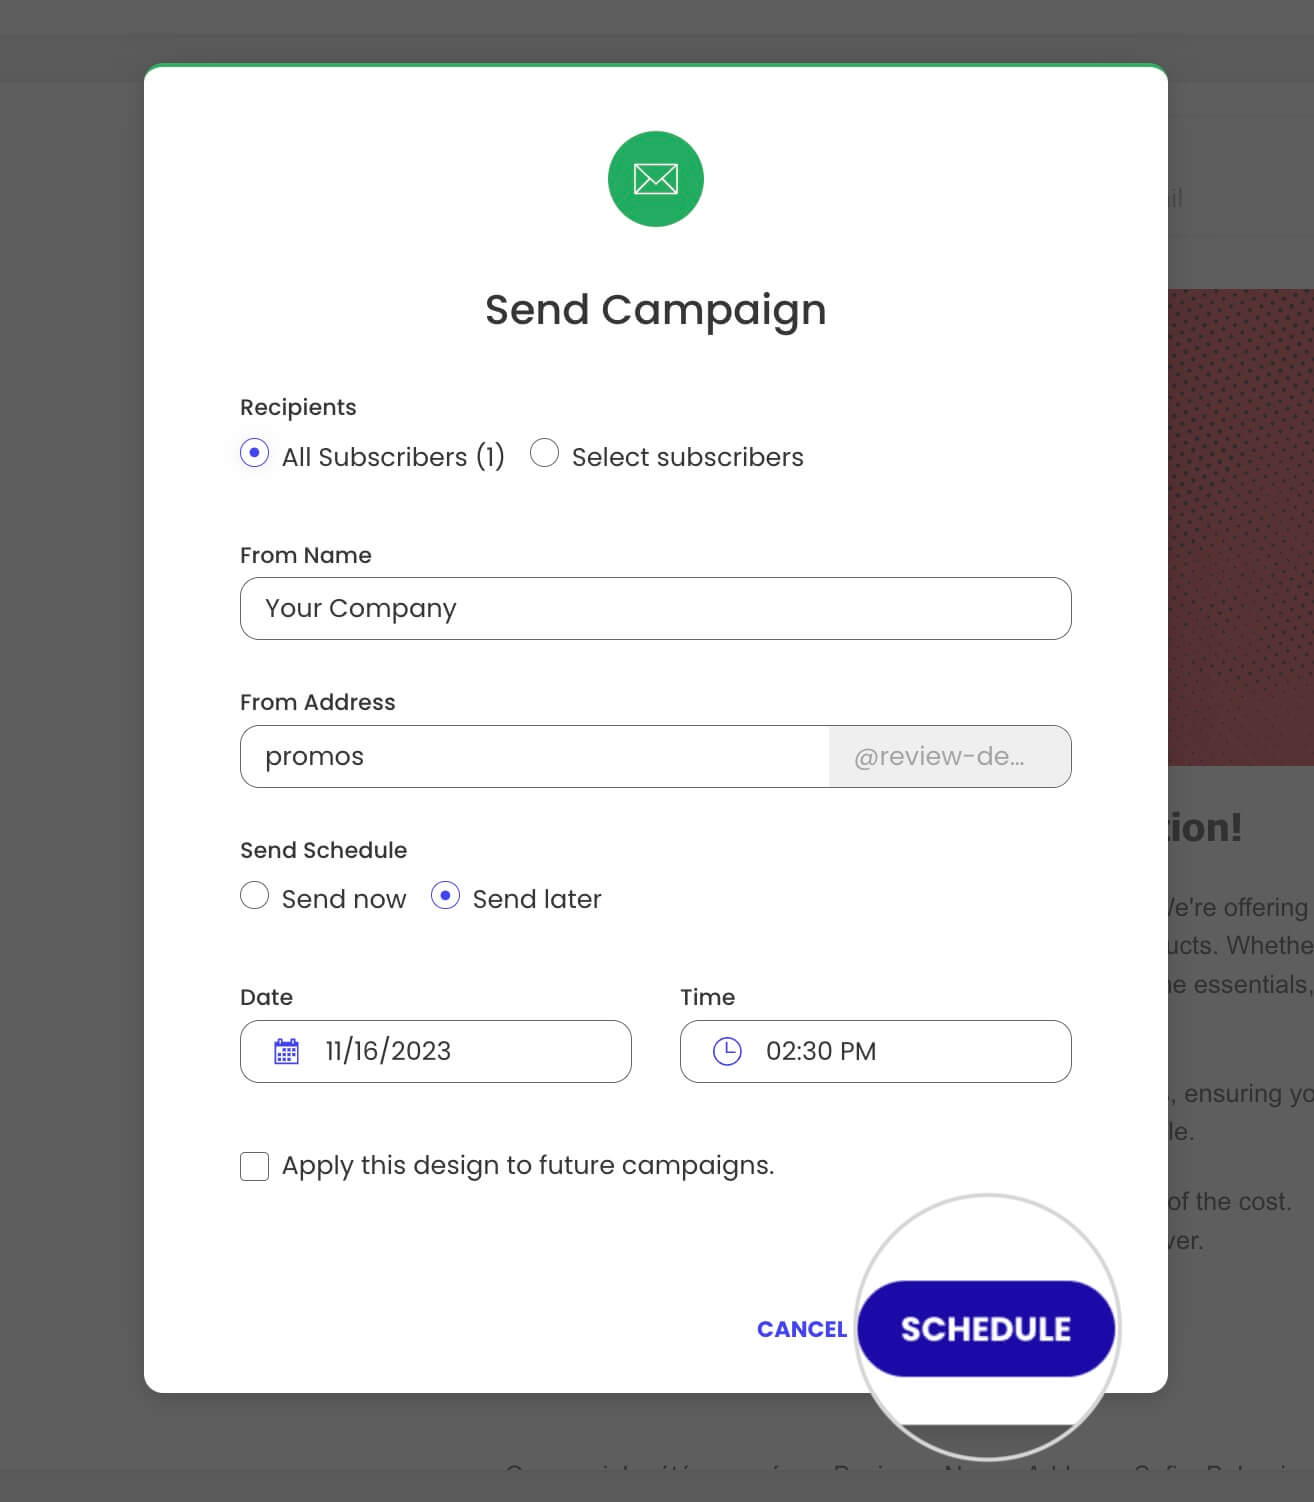
- A new screen will pop up. Choose the From Address (that is the unique prefix of the user with the address @yourdomain.com.), From Name, and recipients. Then, select the radio button Send later from the Send Schedule section. Now, you can choose the Date and Time for sending the campaign from the two fields that appear below Send later.

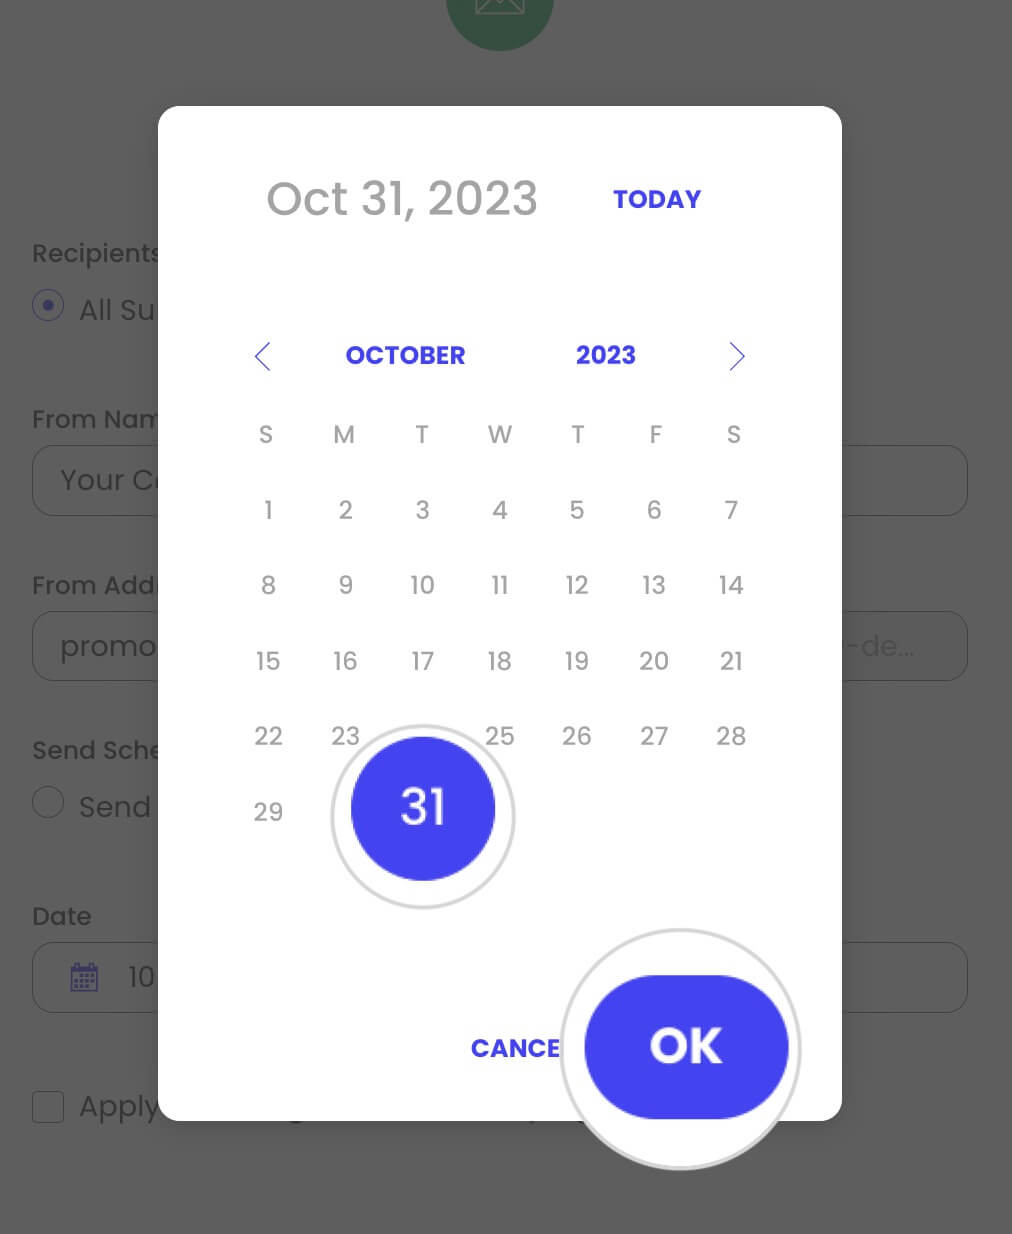
- Click on the Date field to open a calendar for the release date. Confirm your selection with the OK button.
- By pressing on the Time field, you will open a new window. Set the time for sending the campaign, and press the OK button.

- Confirm with the Schedule button once you’ve specified the scheduled sending details.
Scheduled campaign statuses
Once the campaign is scheduled, it will appear in Email Marketing > Campaigns. You can further edit it or monitor its status. The Status column displays the current status for the respective campaign. Scheduled campaigns can have three different statuses.
- Scheduled – The campaign is scheduled for release. Hovering over the info icon next to the status displays the scheduled release time.
- Sending – The scheduled time has come, and the campaign is being sent.
- Suspended – The campaign contains prohibited content or doesn’t meet all requirements and is currently suspended from being sent.

Can you edit a scheduled campaign?
Yes, you can edit a scheduled campaign. Go to Email Marketing > Campaigns, and from the Actions (kebab menu), select Edit.
How to stop a scheduled campaign
Eventually, you may change your mind about a scheduled campaign. To stop it from being sent, go to Email Marketing > Campaigns. Click on the Actions menu of the selected campaign, and press Edit.
Editing a scheduled campaign will reset it to a draft. Once you press Edit, a pop-up notification will inform you of this change. Click Confirm to start editing the campaign and reset the scheduled time.
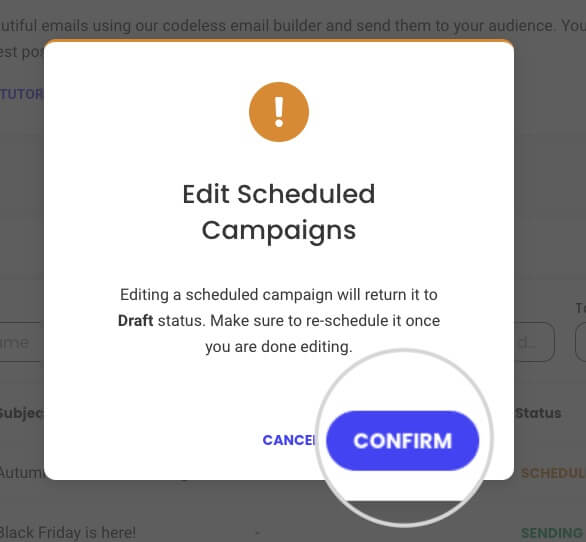
You can then reschedule the campaign from the Send options in the Email Builder.
Why scheduling campaigns matters
It’s not just a matter of how good your campaign is. What also counts is the time of release. Choosing the right moment will enhance your campaigns in numerous ways.
1. Increased Engagement
You can significantly increase open and click-through rates by releasing your campaigns at optimal times. For instance, an email sent during the mid-morning on a weekday is more likely to grab your subscribers’ attention, while one sent late at night might end up unnoticed.
2. Consistent Communication
Scheduling your campaigns establishes consistent communication with your audience. Regularly scheduled emails help you maintain a solid presence and build a reliable brand image.
3. Efficient Resource Management
Scheduled sending allows you to plan ahead campaigns, freeing up resources and time for other important tasks. This can be especially beneficial if you run a small team and must effectively organize your priorities.
4. Personalization and Segmentation
By scheduling release dates, you can tailor your campaigns to different audience segments based on their habits, preferences, and locations. For example, you can email subscriber groups in different time zones to hit peak activity hours.